This article describes the basic operations of the design workflow system Penpot. We believe that by reading this article, you will be able to get an idea of the operation. We also have a demo environment where you can actually operate the system, so if you are interested, please use it.
1. Log in to Penpot.
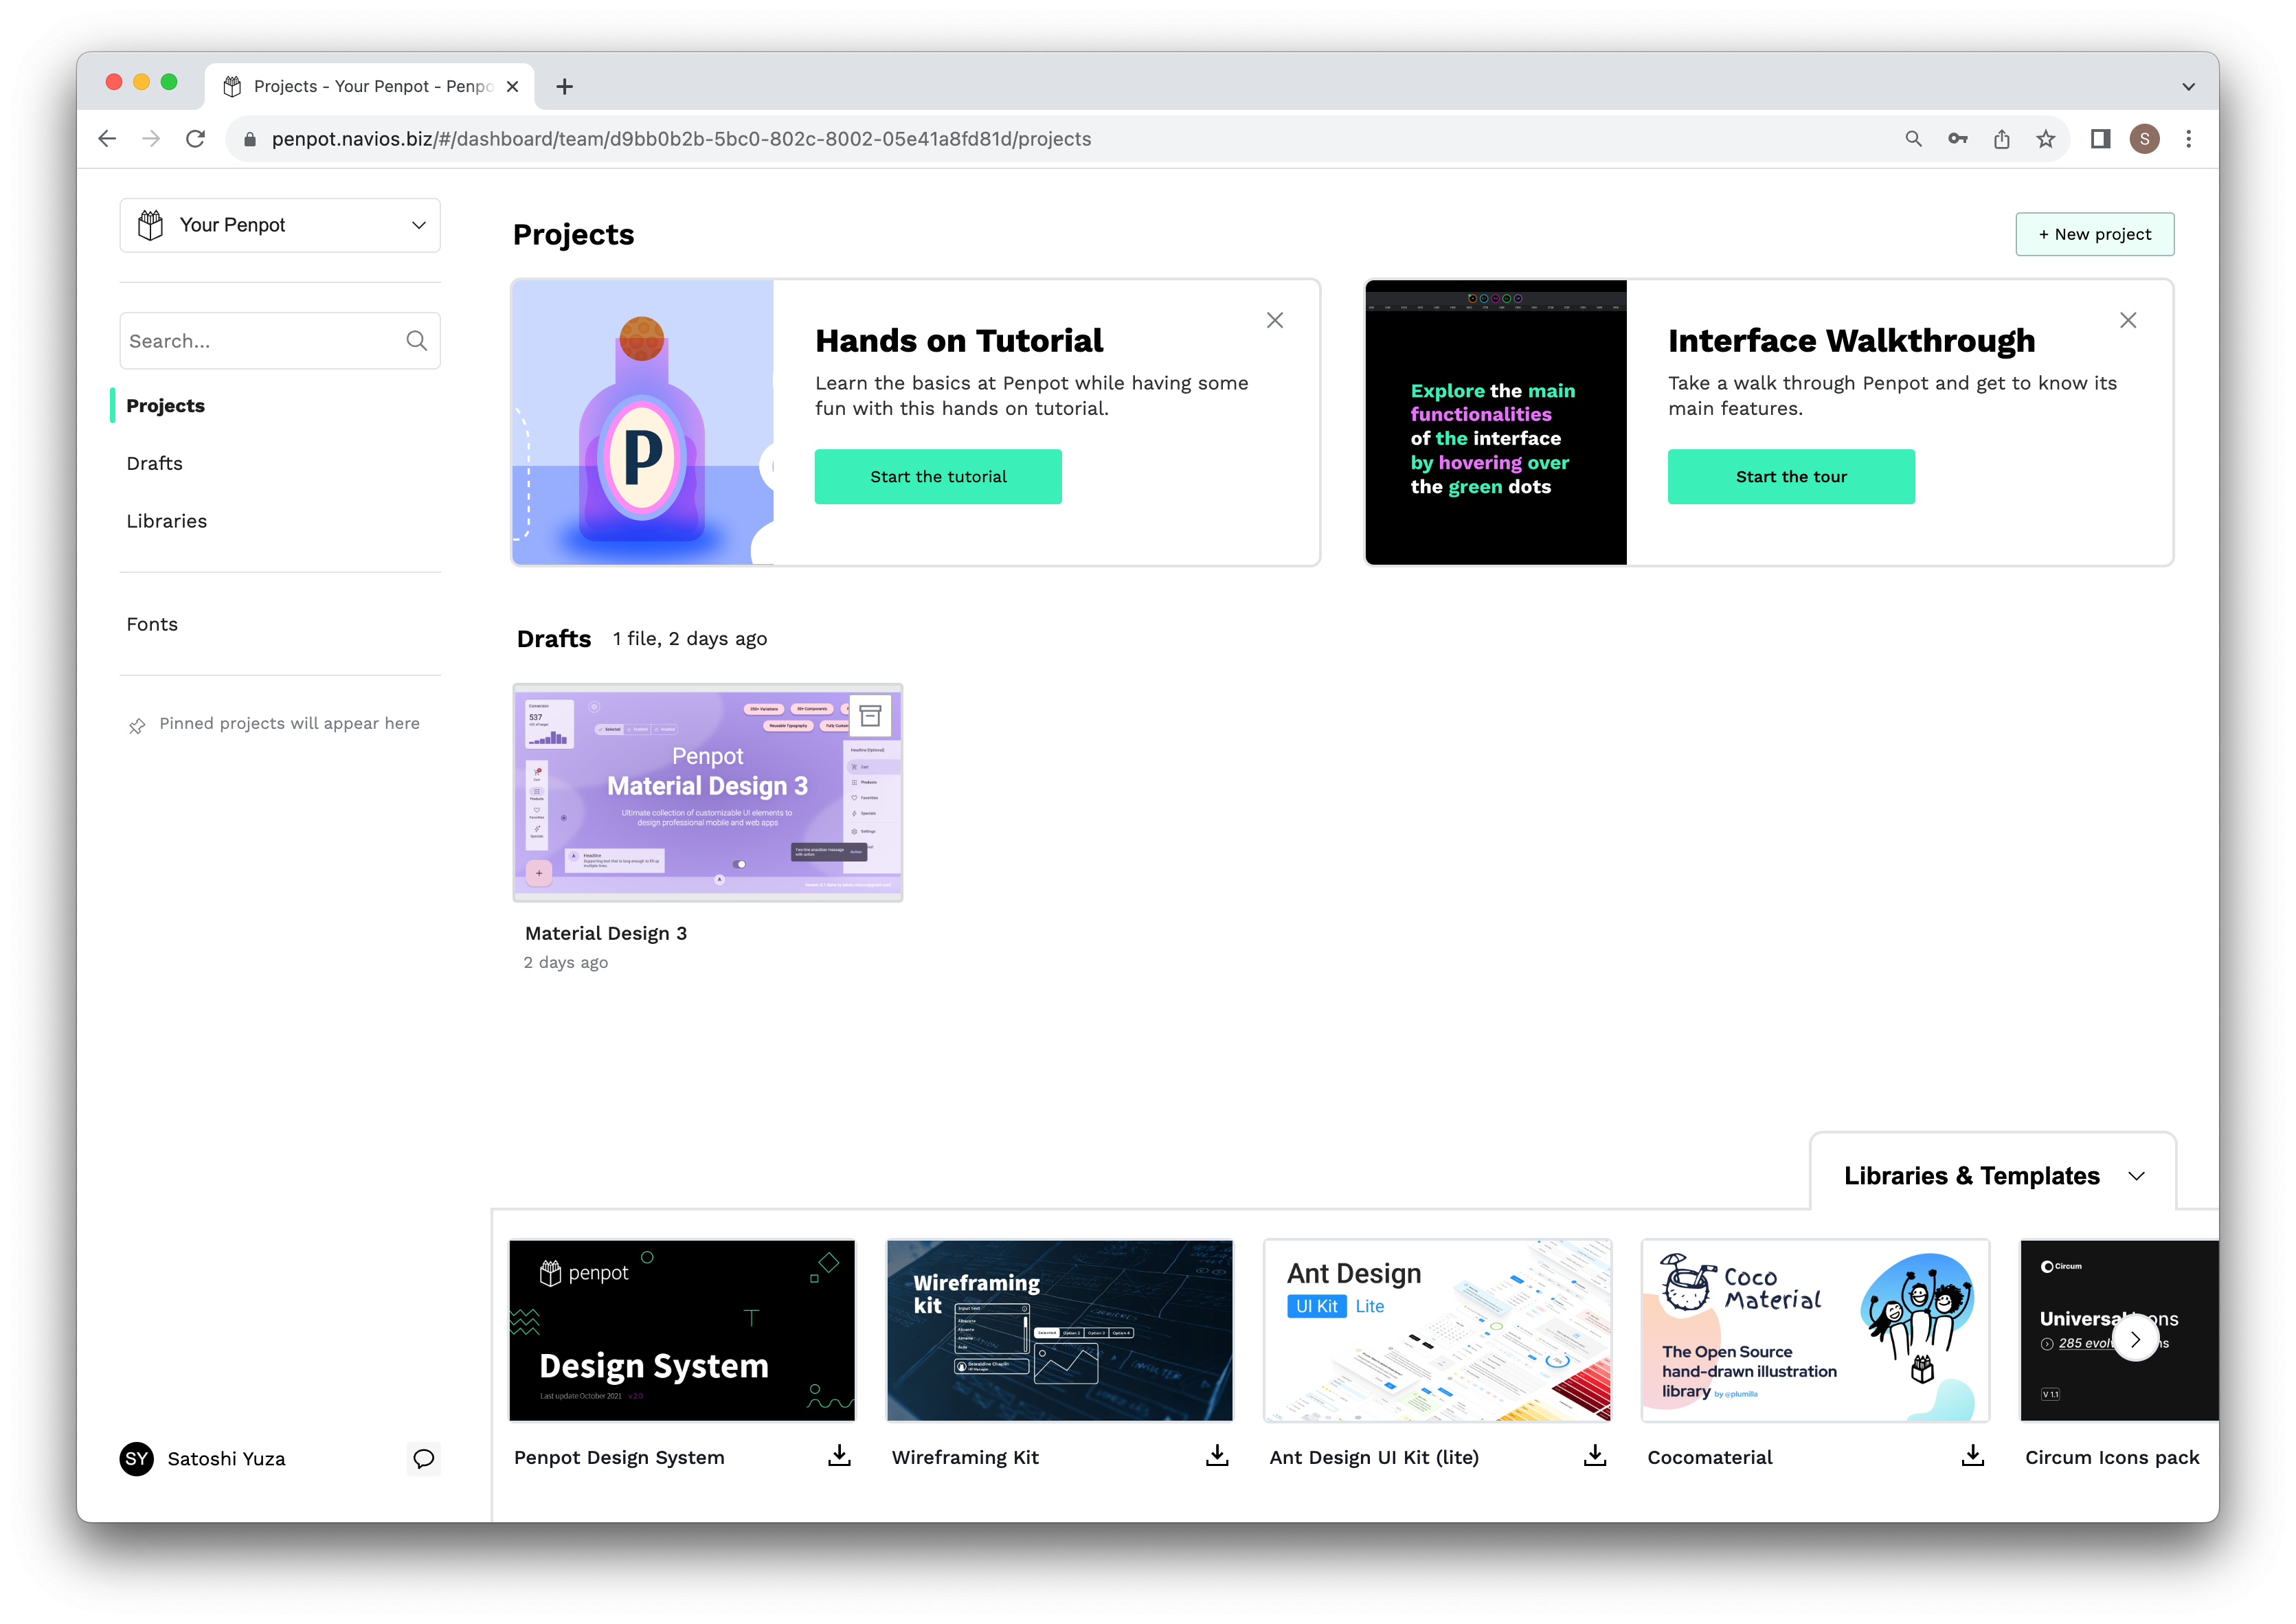
Once you log in to Penpot, you will see the currently available Projects.
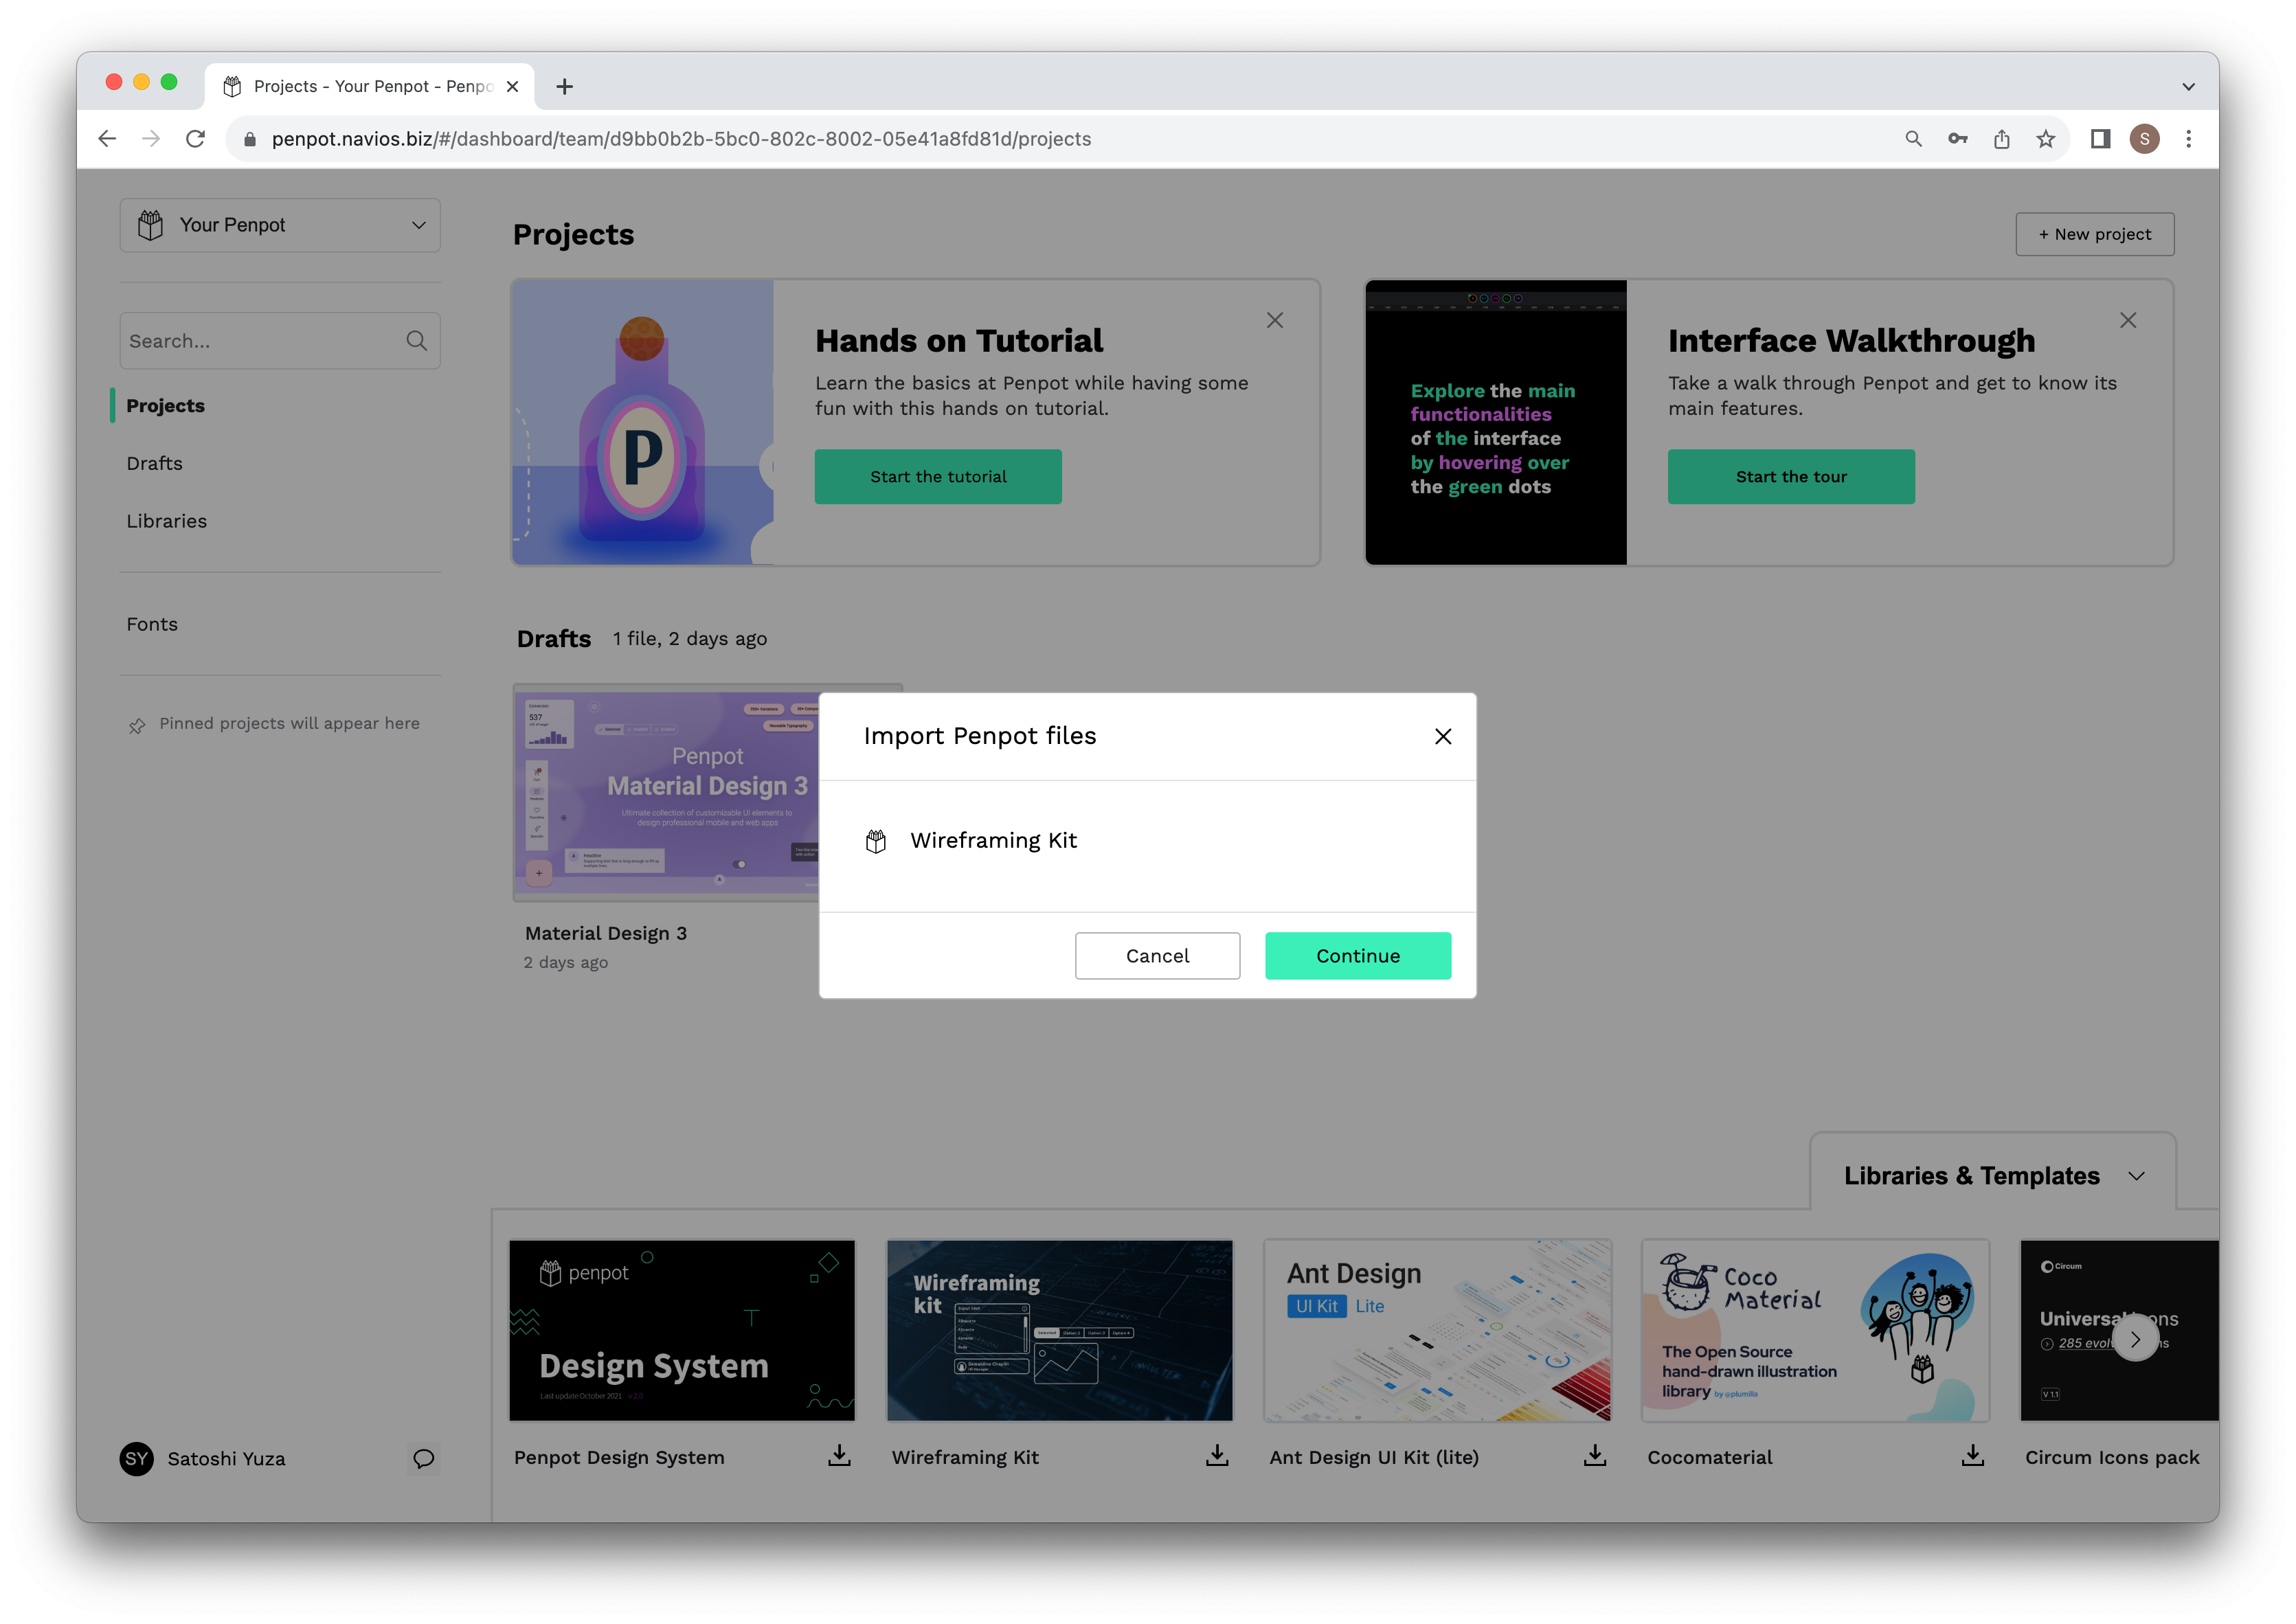
2. Import Template.
From the Library & Templates at the bottom, import the Template of the design you would like to create.
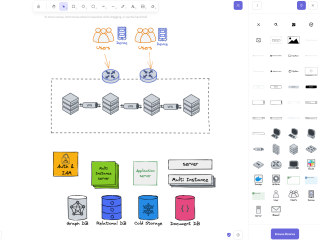
If you want to create a wireframe of your website, Wireframing Kit is useful.
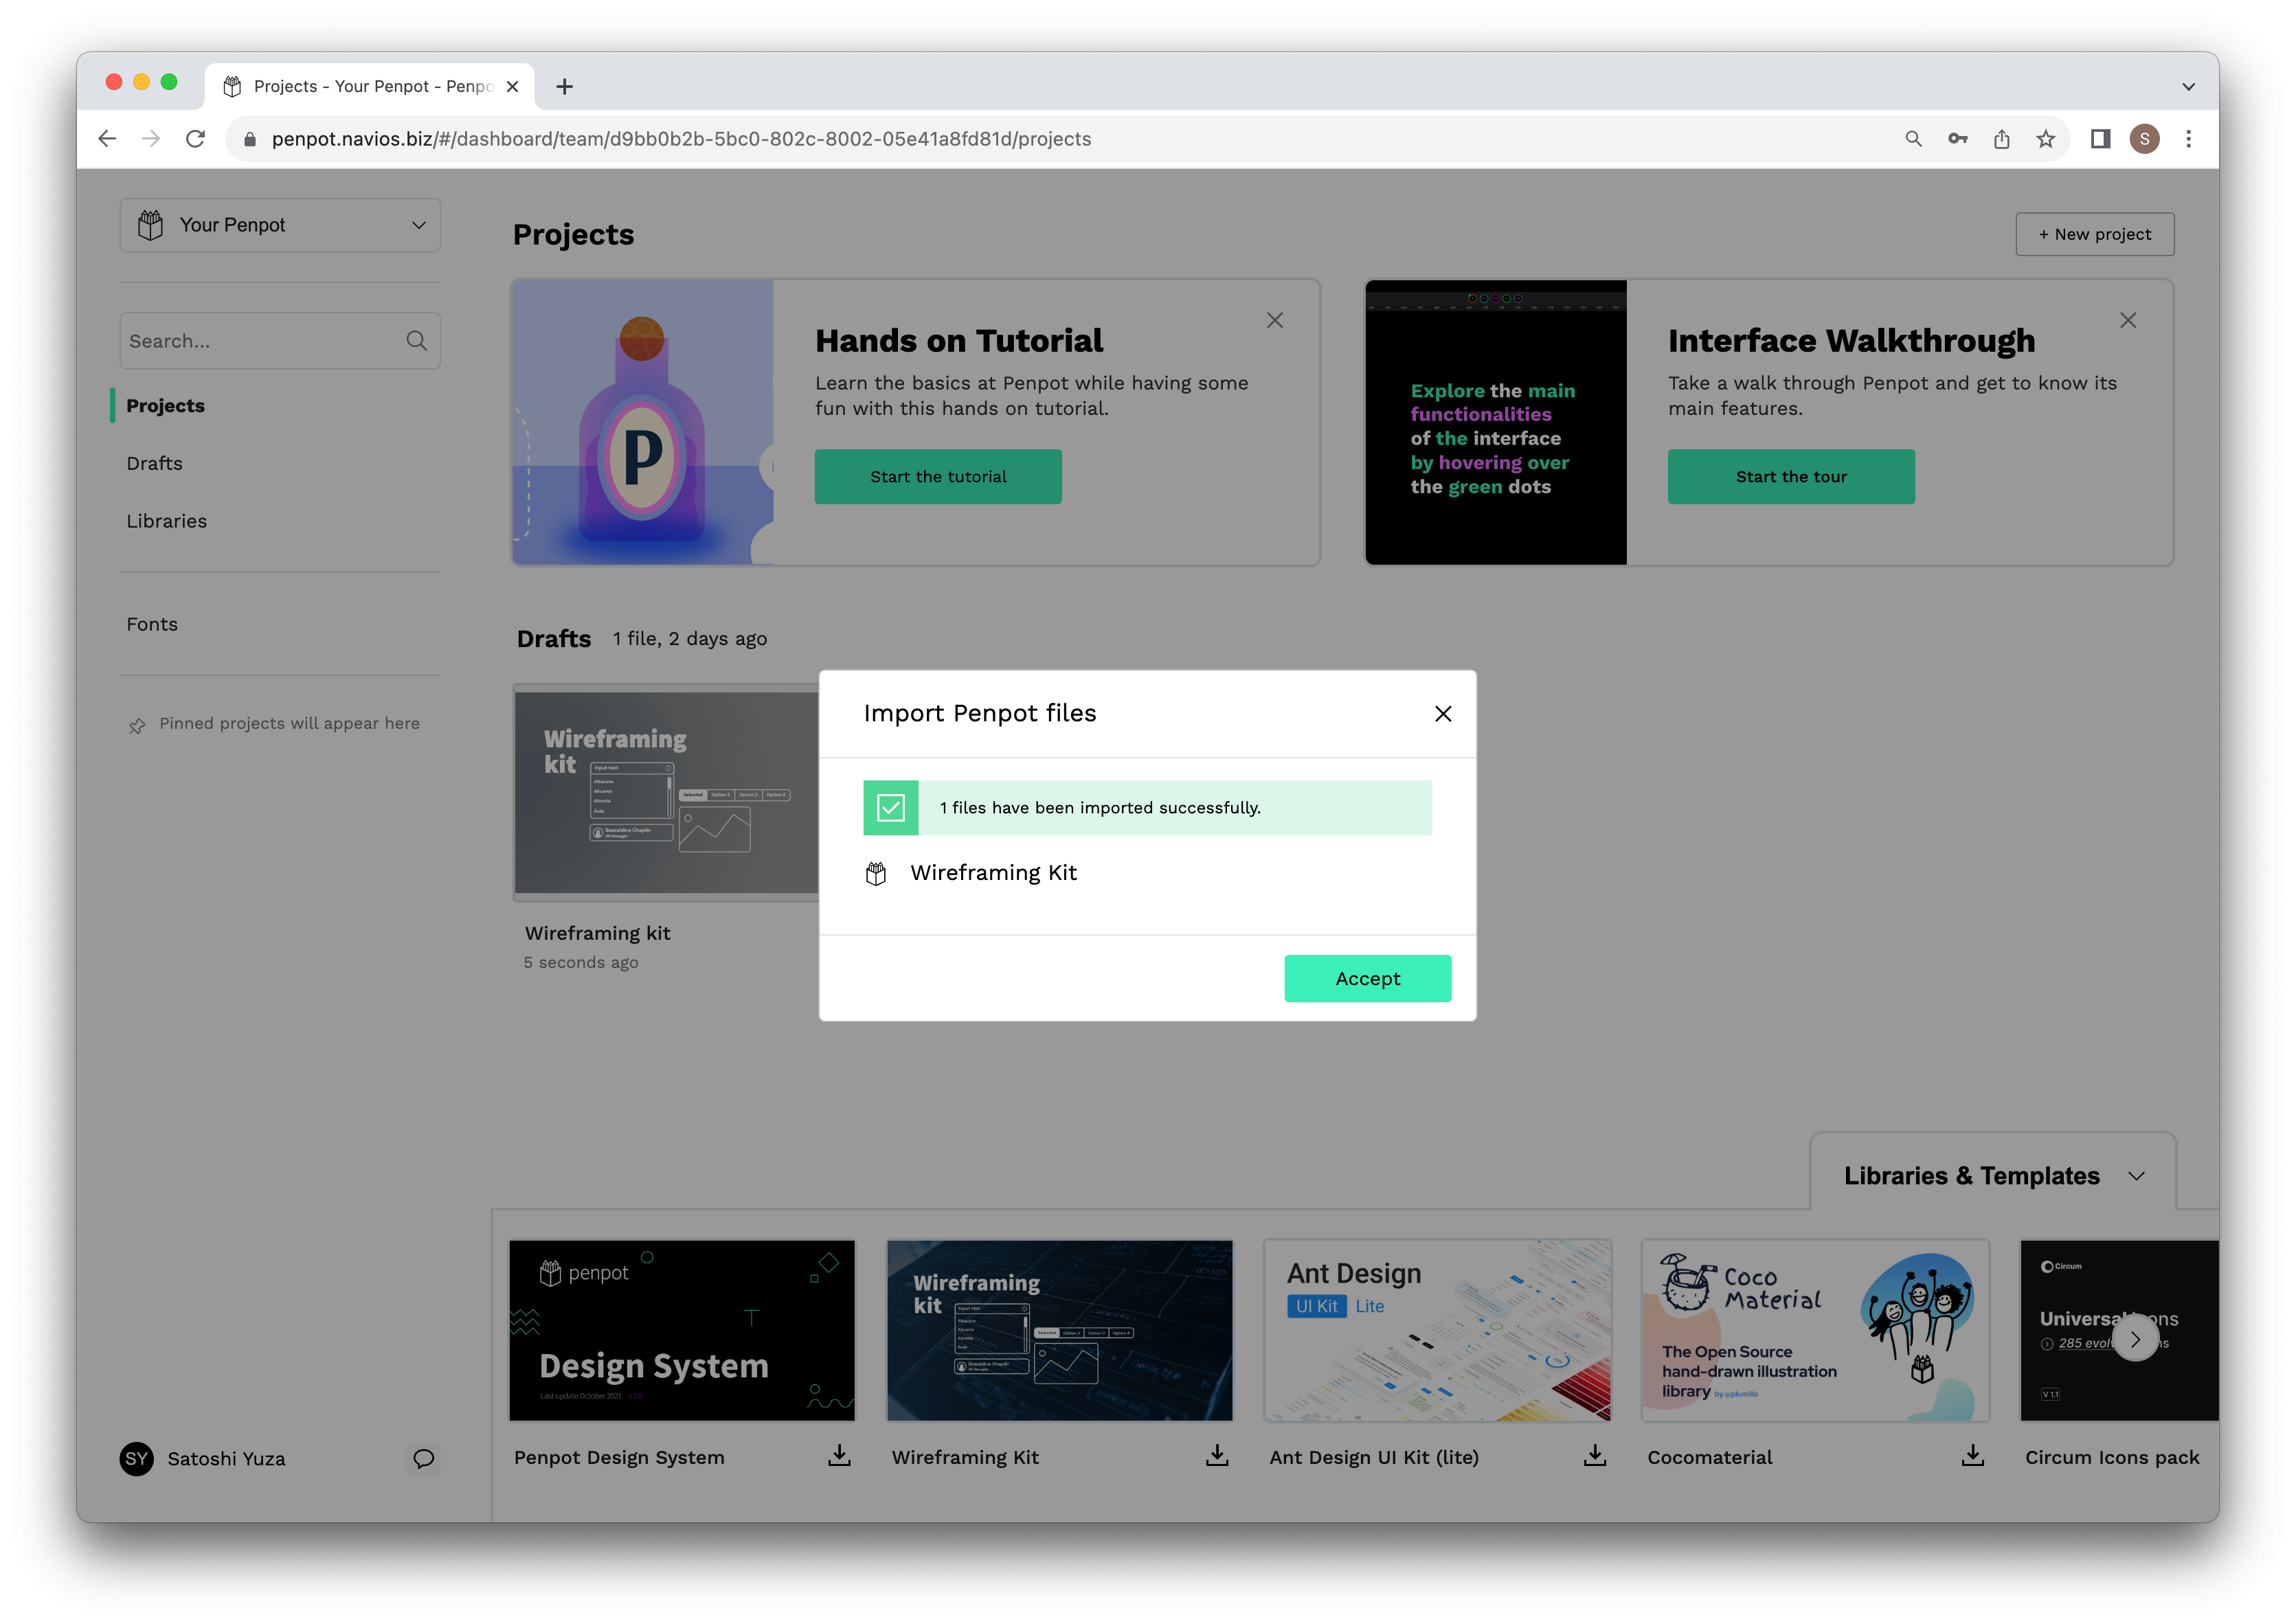
If the import is successful, the message in the dialog will be output as shown in the following image. If the import is successful, click Accept.
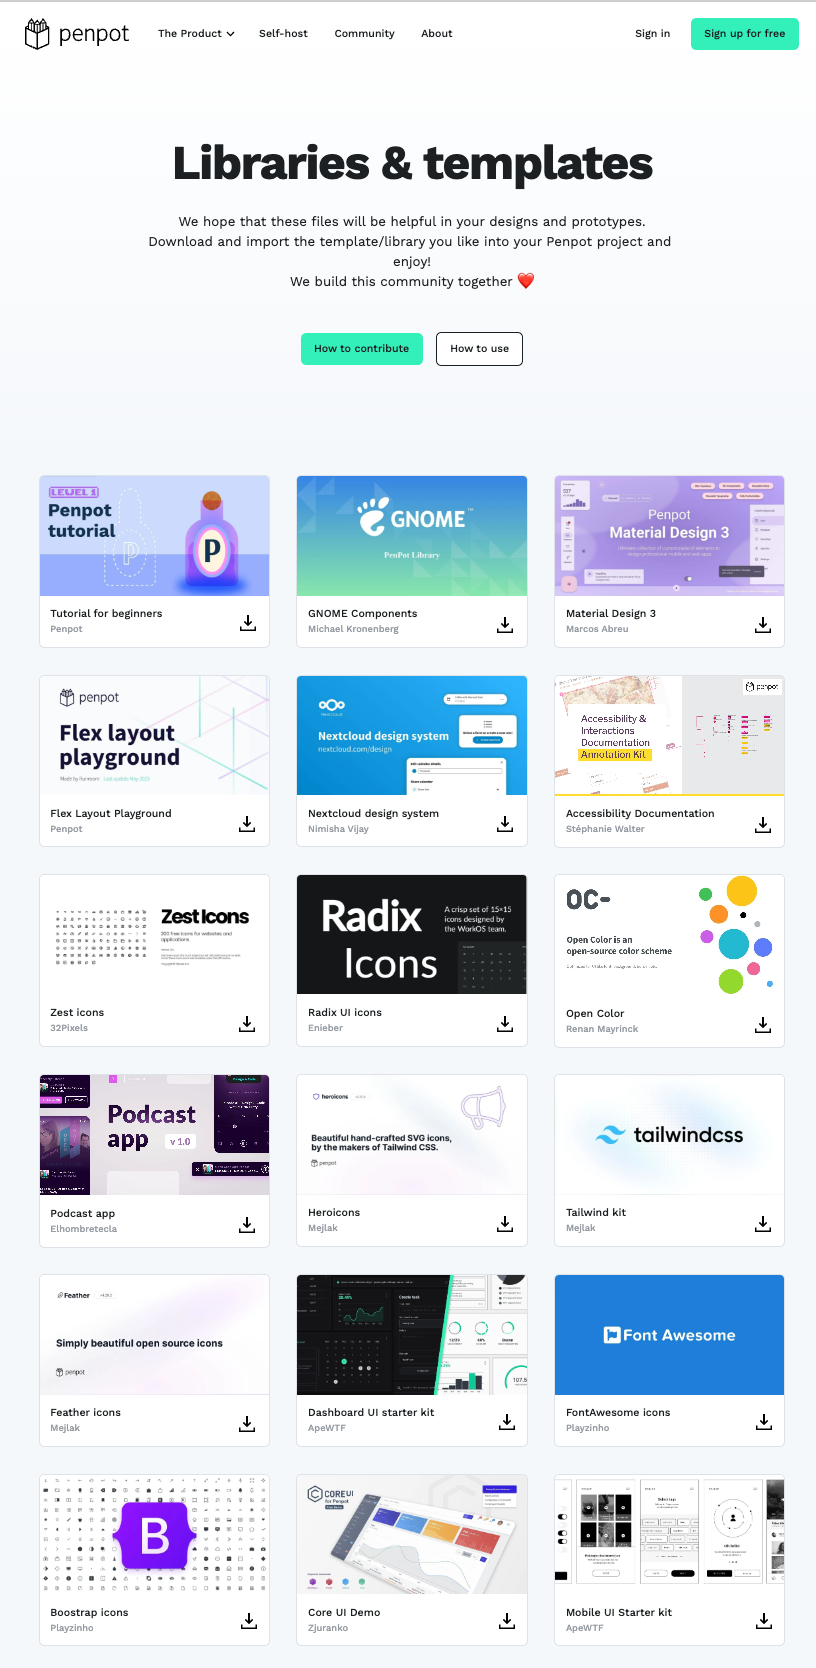
You can also download various Templates from Penpot's official website.
Download the Template of the design you would like to create from the Library & Templates (https://penpot.app/libraries-templates ) on Penpot's website.
If you have created a wireframe for your website, download the Wireframing Kit.
3. Change the project name of the imported Template.
Click on the menu of the imported Wireframing Kit in Draft and a pop-up menu of available features will appear.
Select Rename to change the project name.
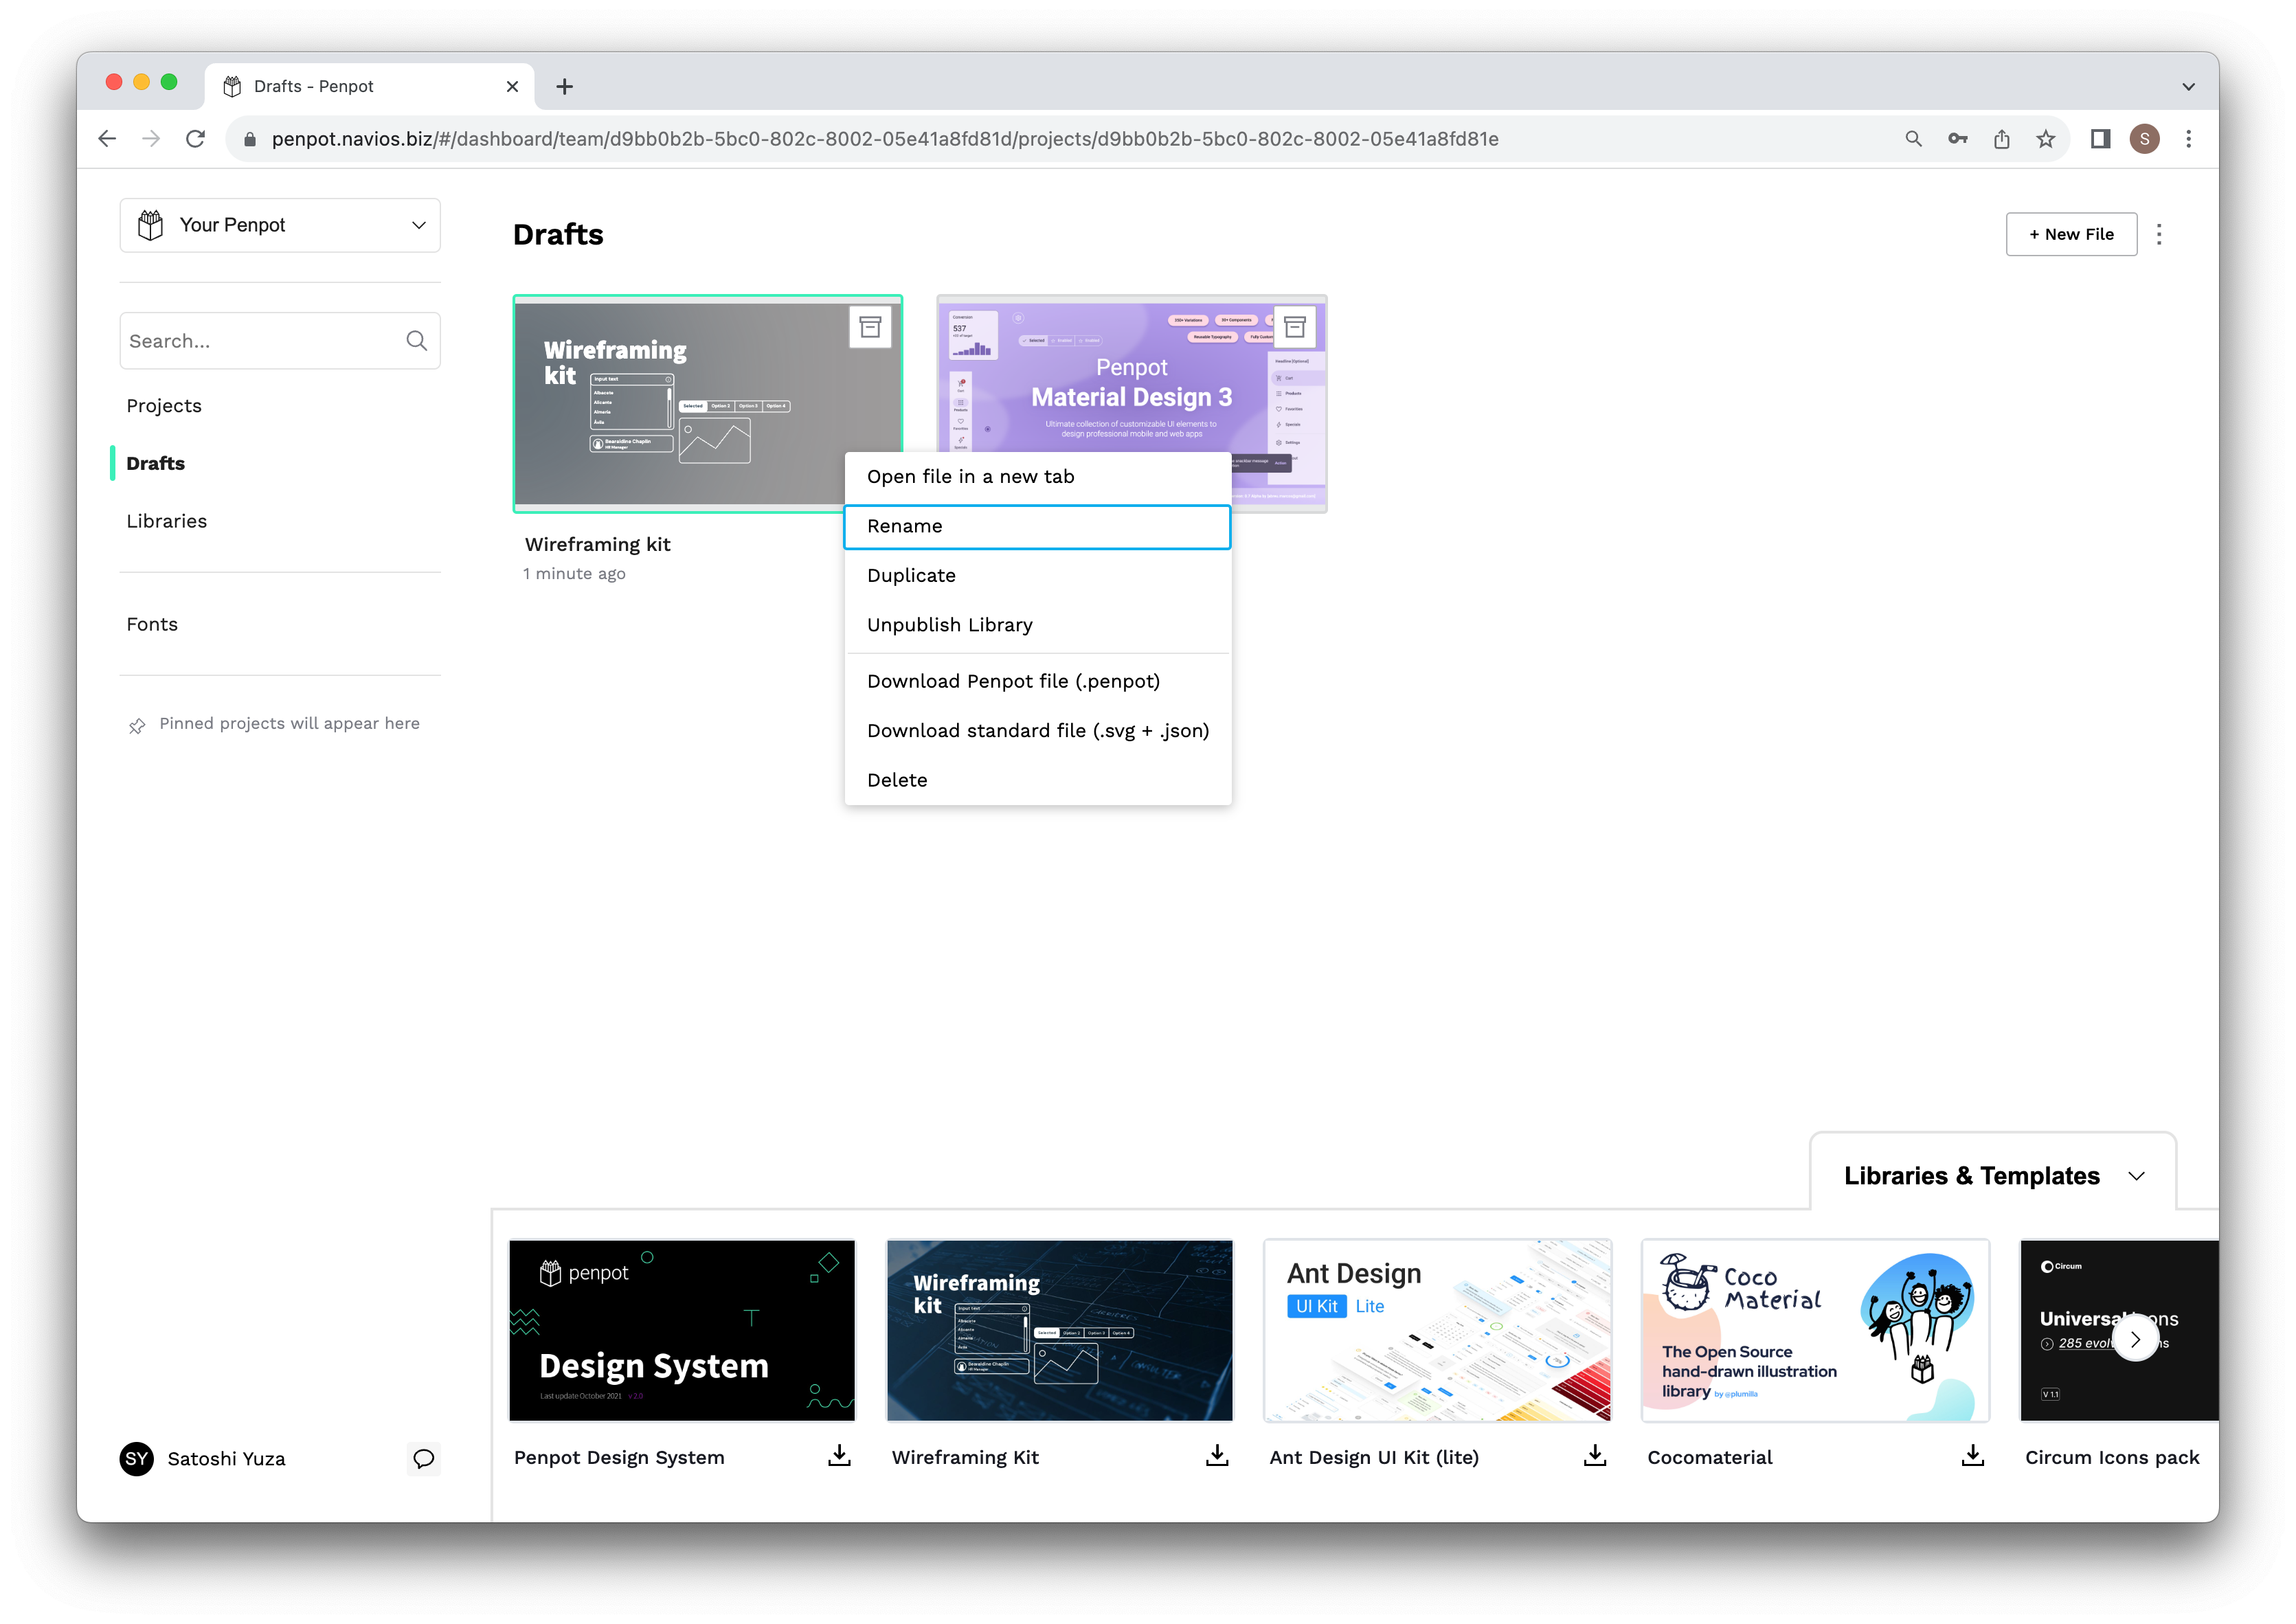
In this case, we changed it to NAVIOS Wireframe. Change the name accordingly.

4. open the project
Double-click on the image of the project you wish to edit to open the project.
The default state after opening the Wireframing Kit is as follows.
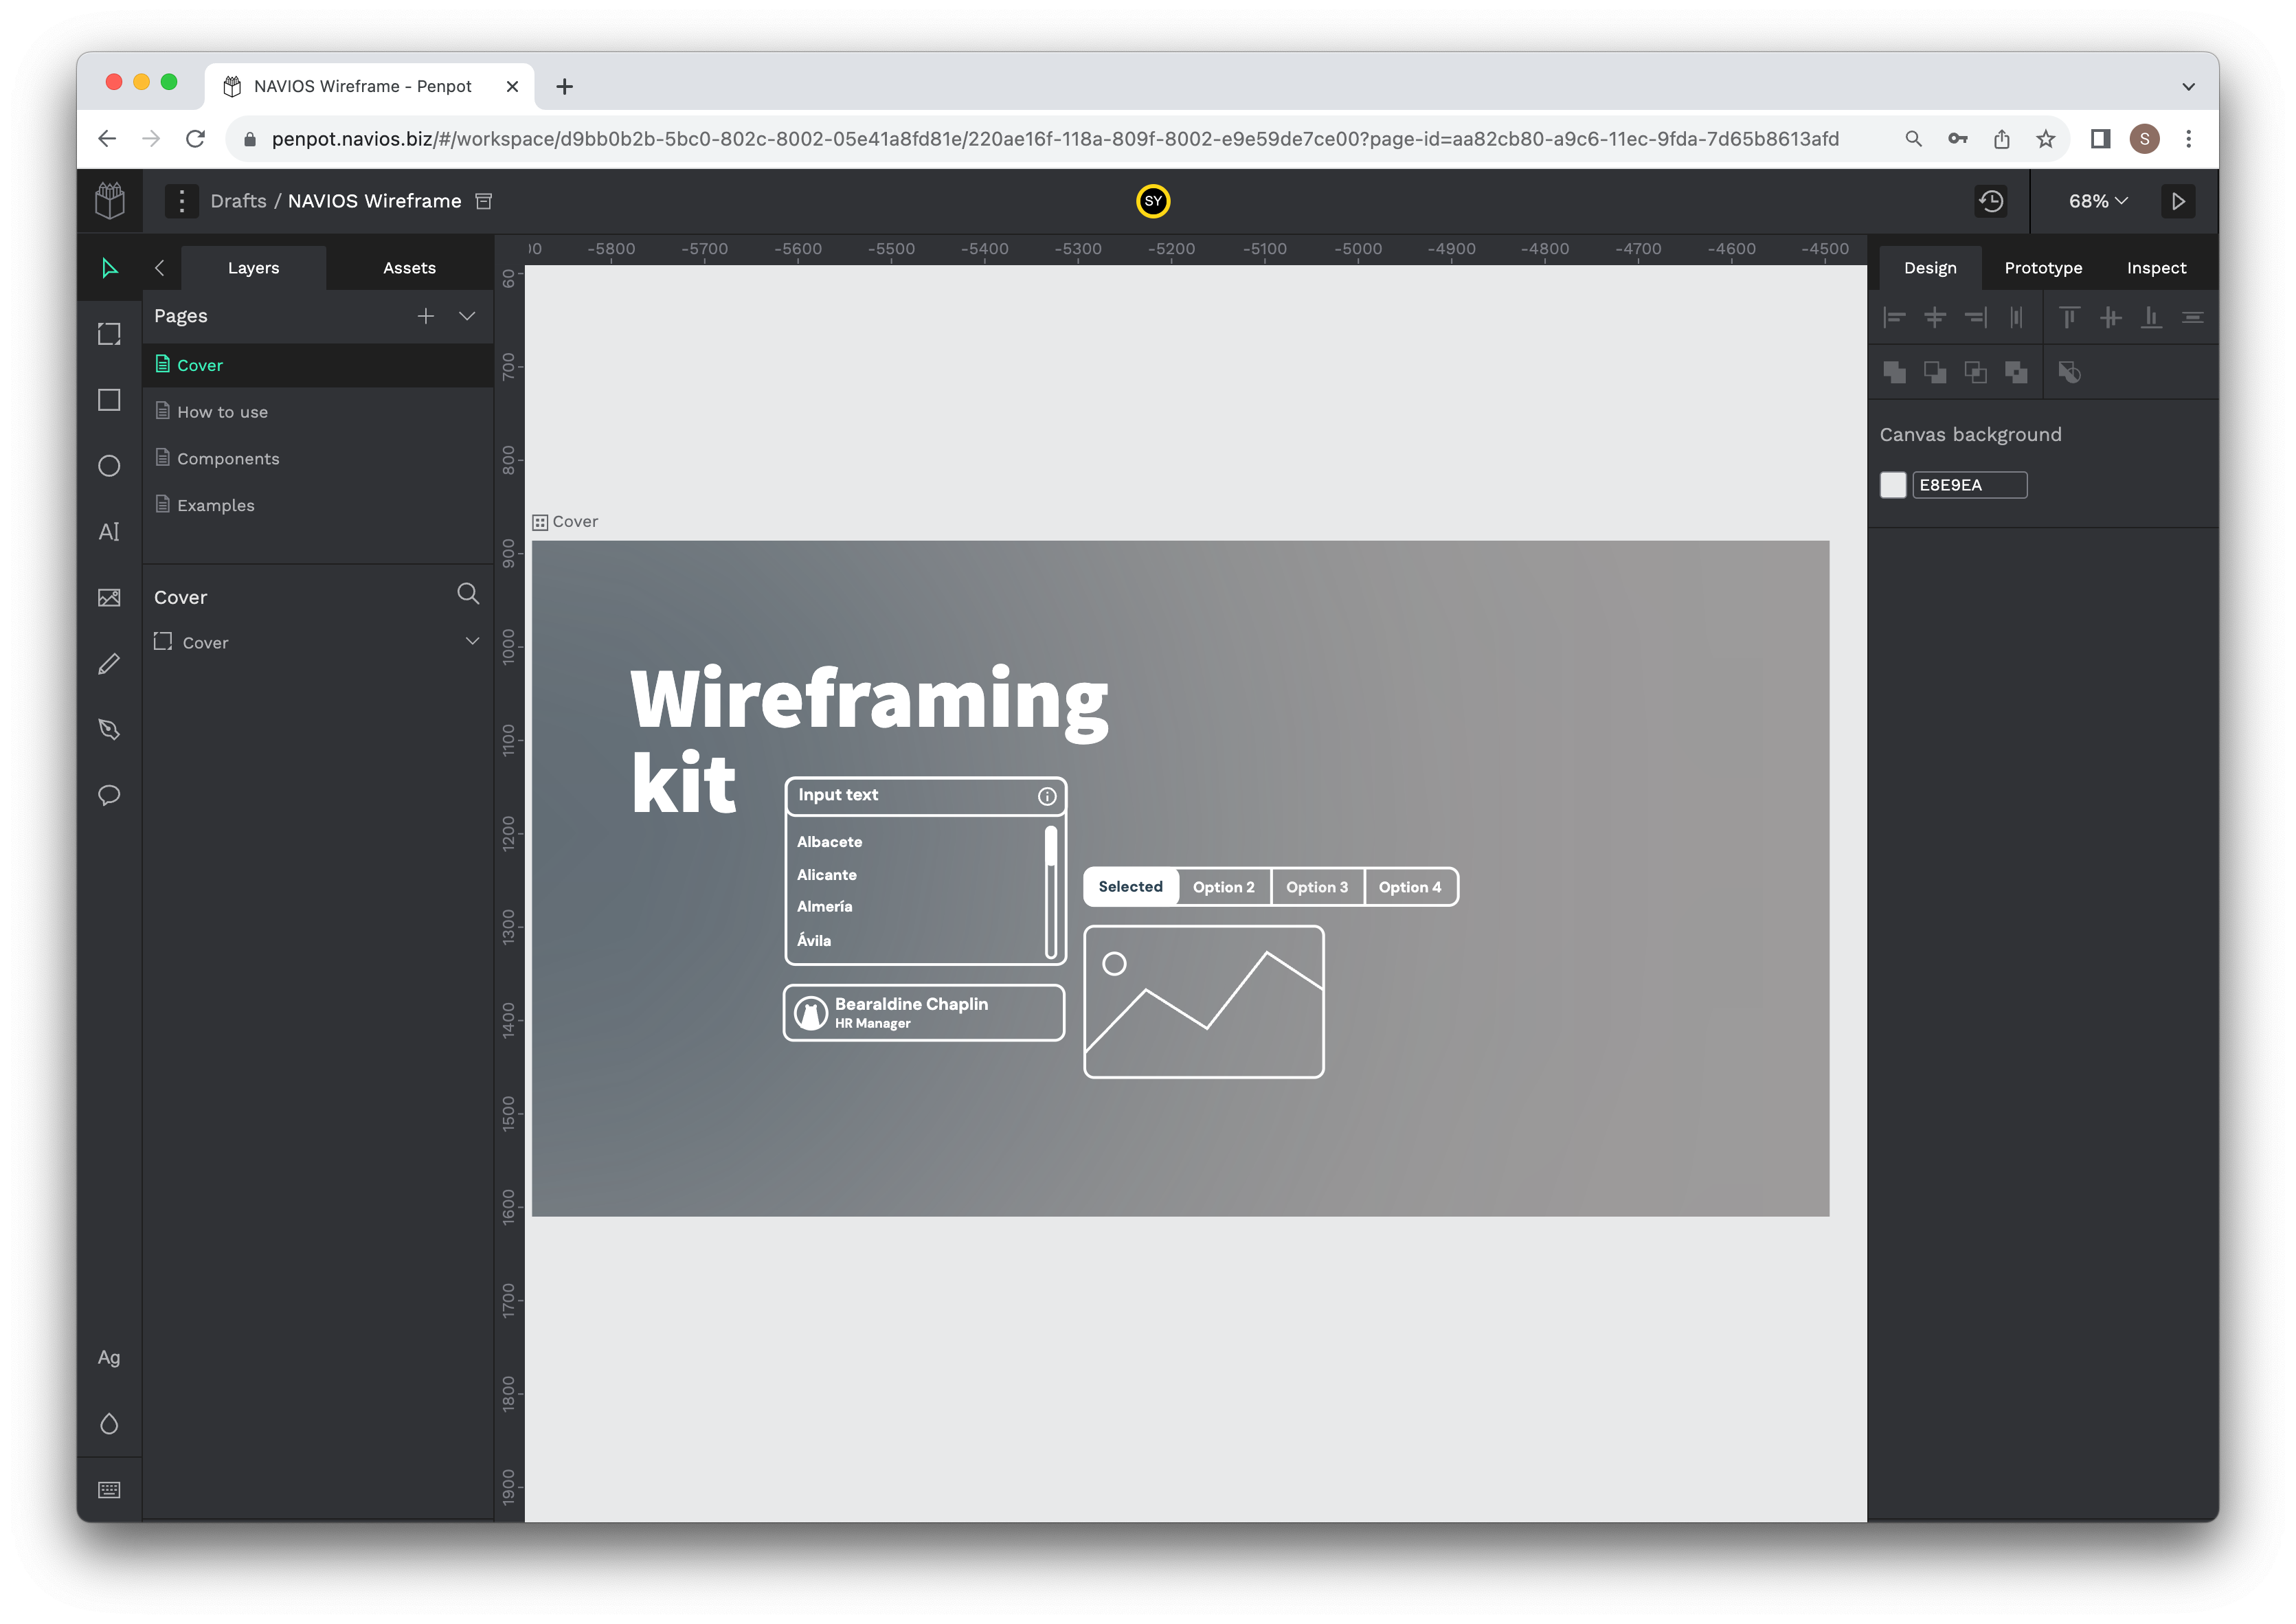
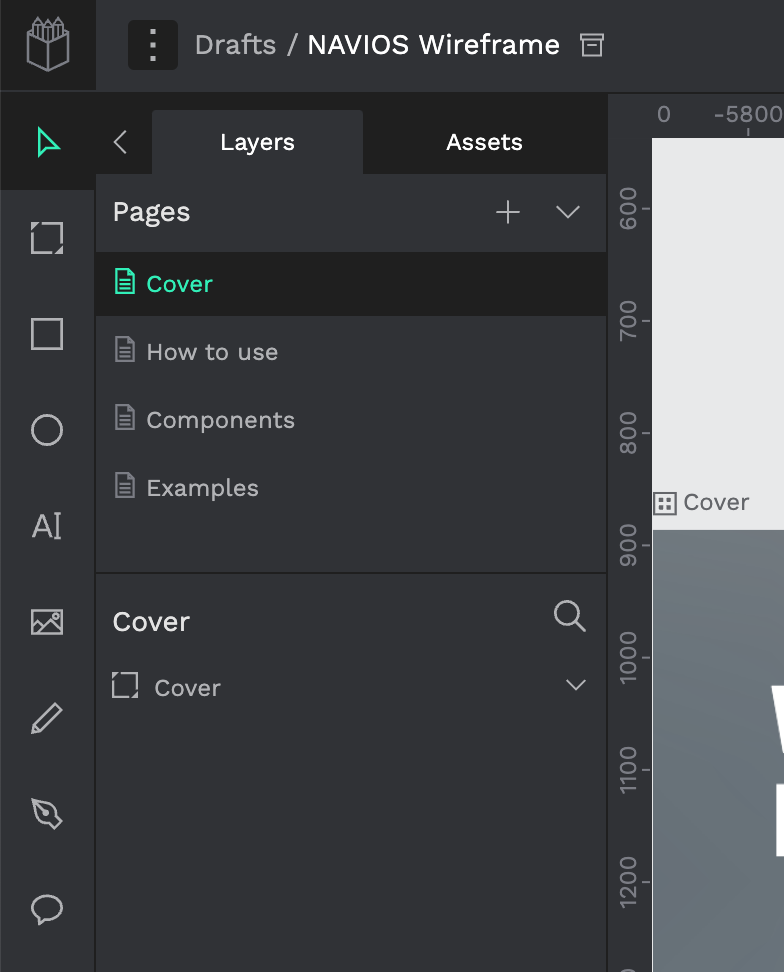
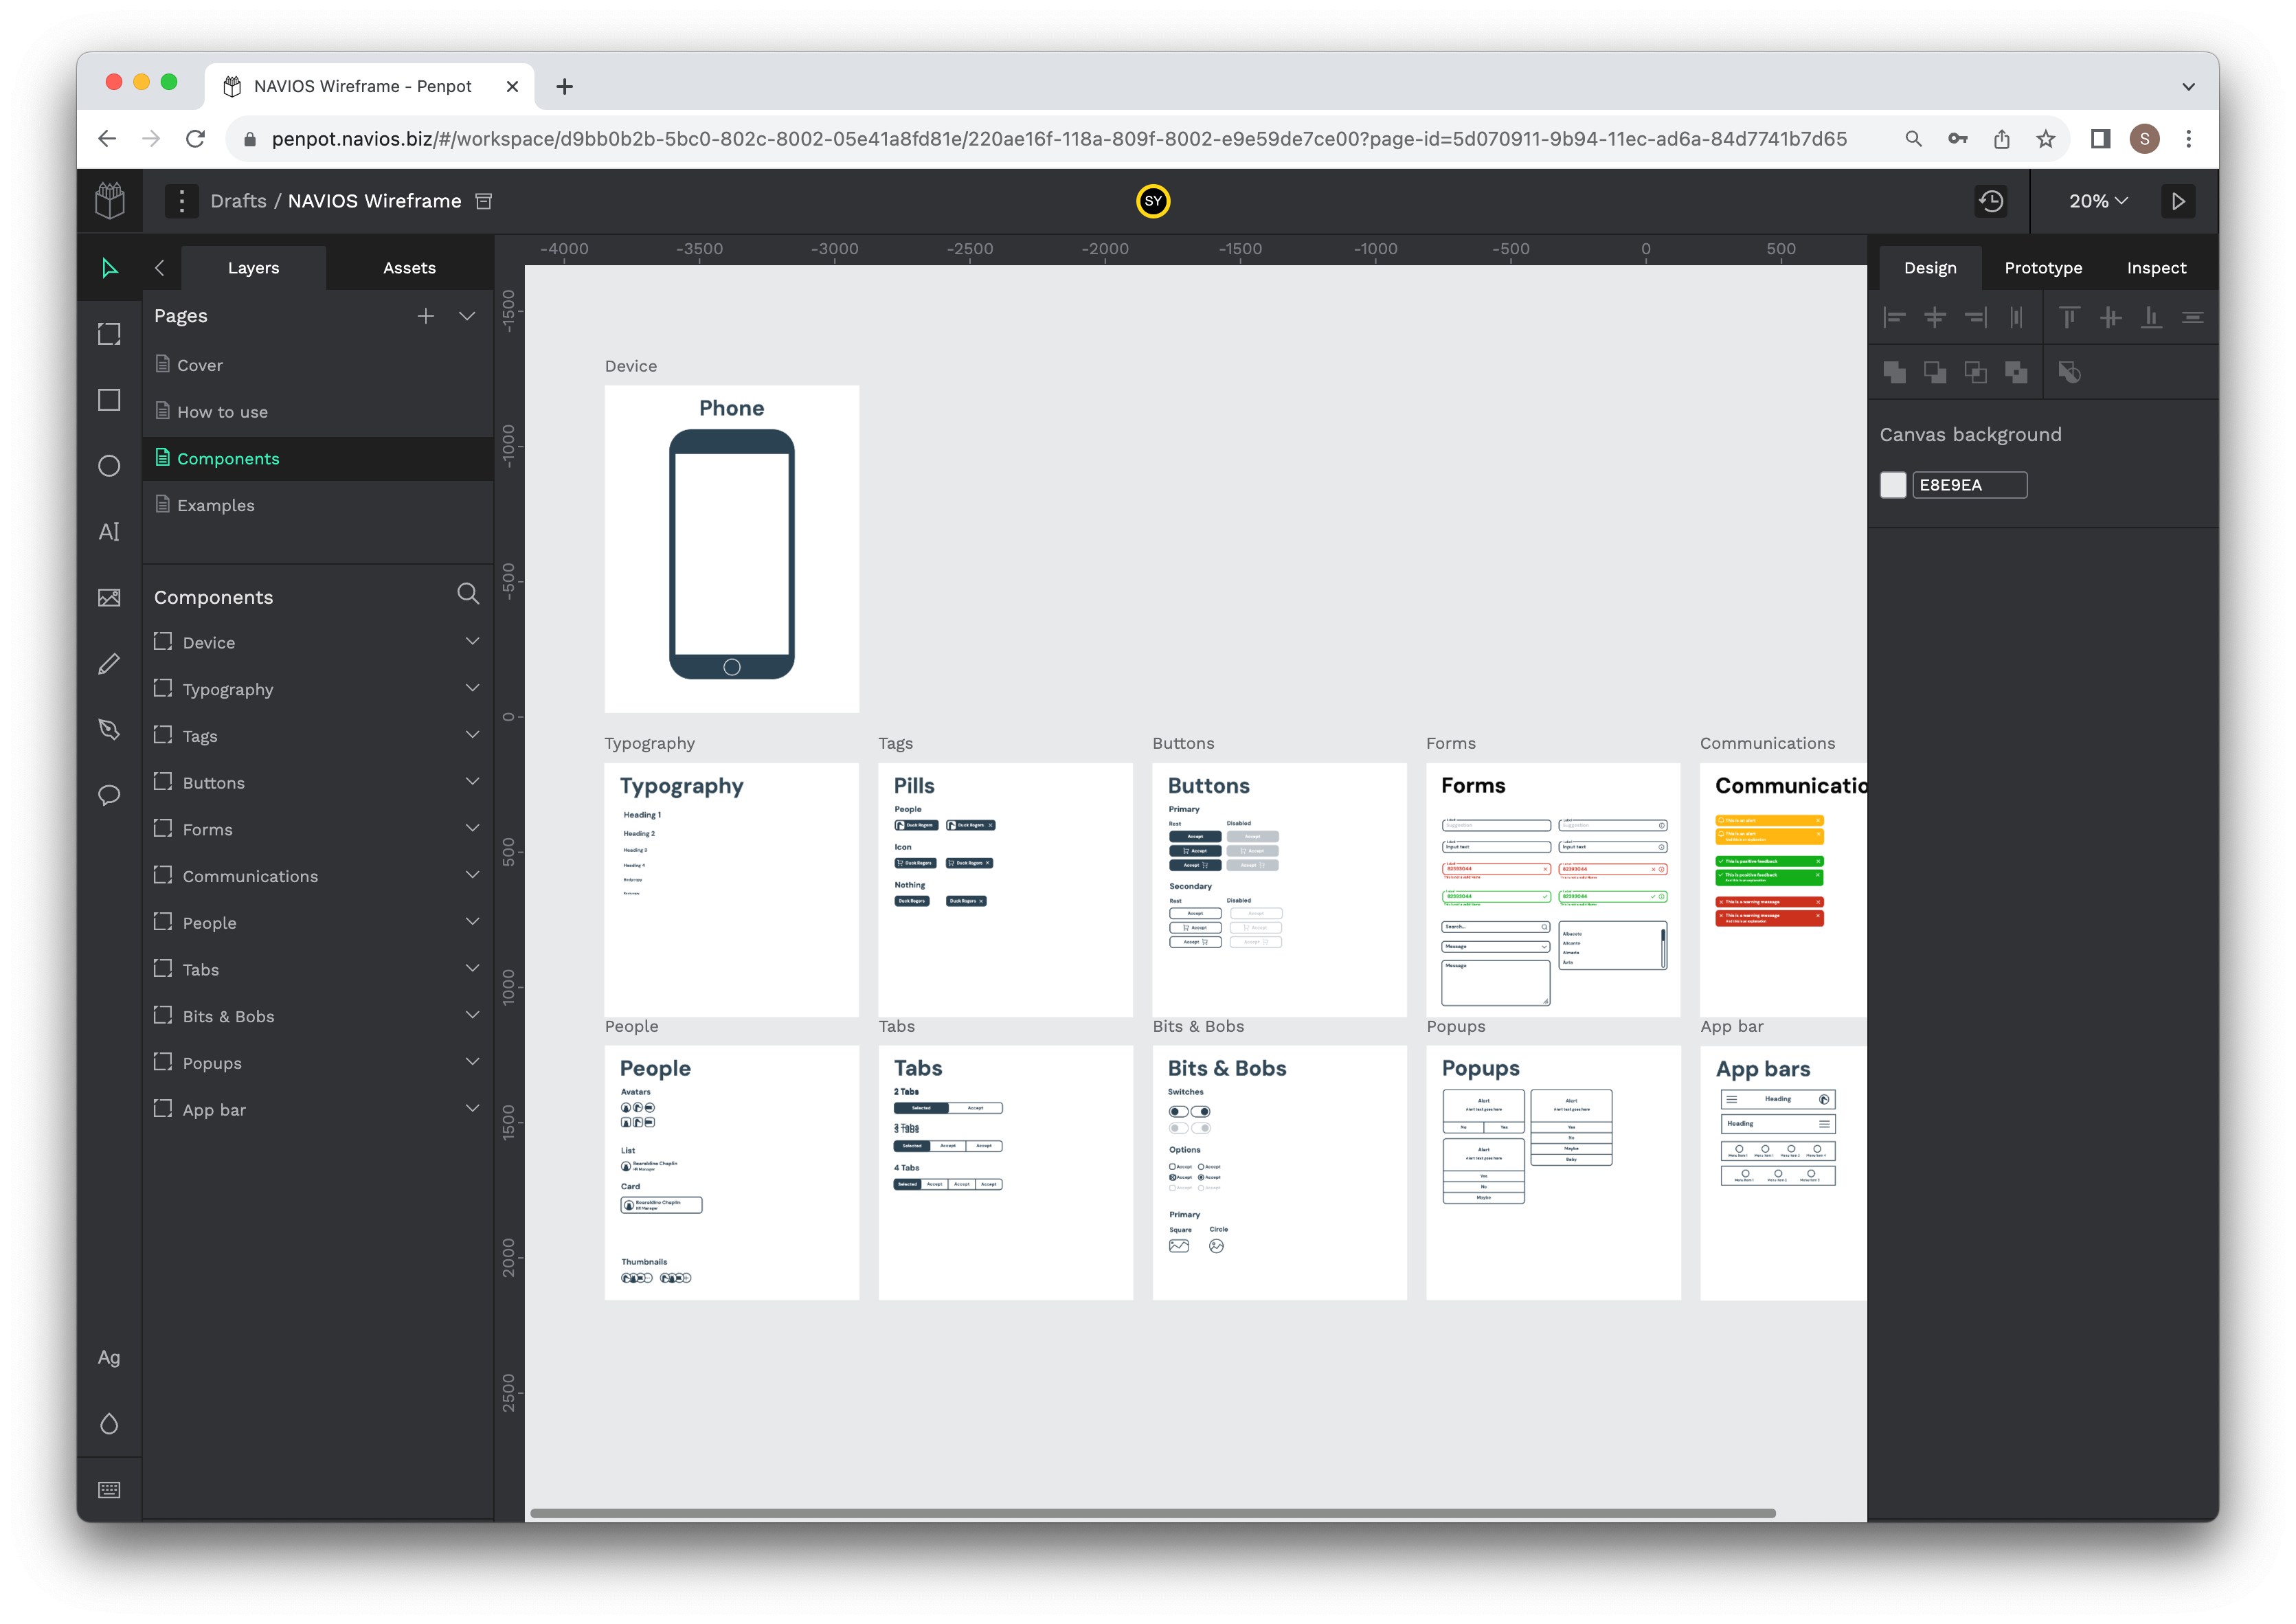
5. Check the Layer tab in the left pane.
There are four pages: Cover / How to use / Components / Examples.
By selecting a page, you can view and edit the respective page.
You will notice that the items under Layers are different when you select the Cover page and the Components page.
-
The Layers area of the Cover page
-
Layers area of the Components page
This item is a Board that exists within a Page. Board is like a "page in a website" or a "box for organizing multiple designs".
6. Display in View mode
To understand the Board better, let's display the page in View mode.
Let's try to display a Page (Cover) with a single Board.
-
Select Layers ⇒ Pages ⇒ Cover, and click the upper right triangle.

The View mode screen will start in a new tab of the browser.
Since there is only one Board in the Cover, the arrow icons in the middle of both sides of the screen will not appear and no change will occur.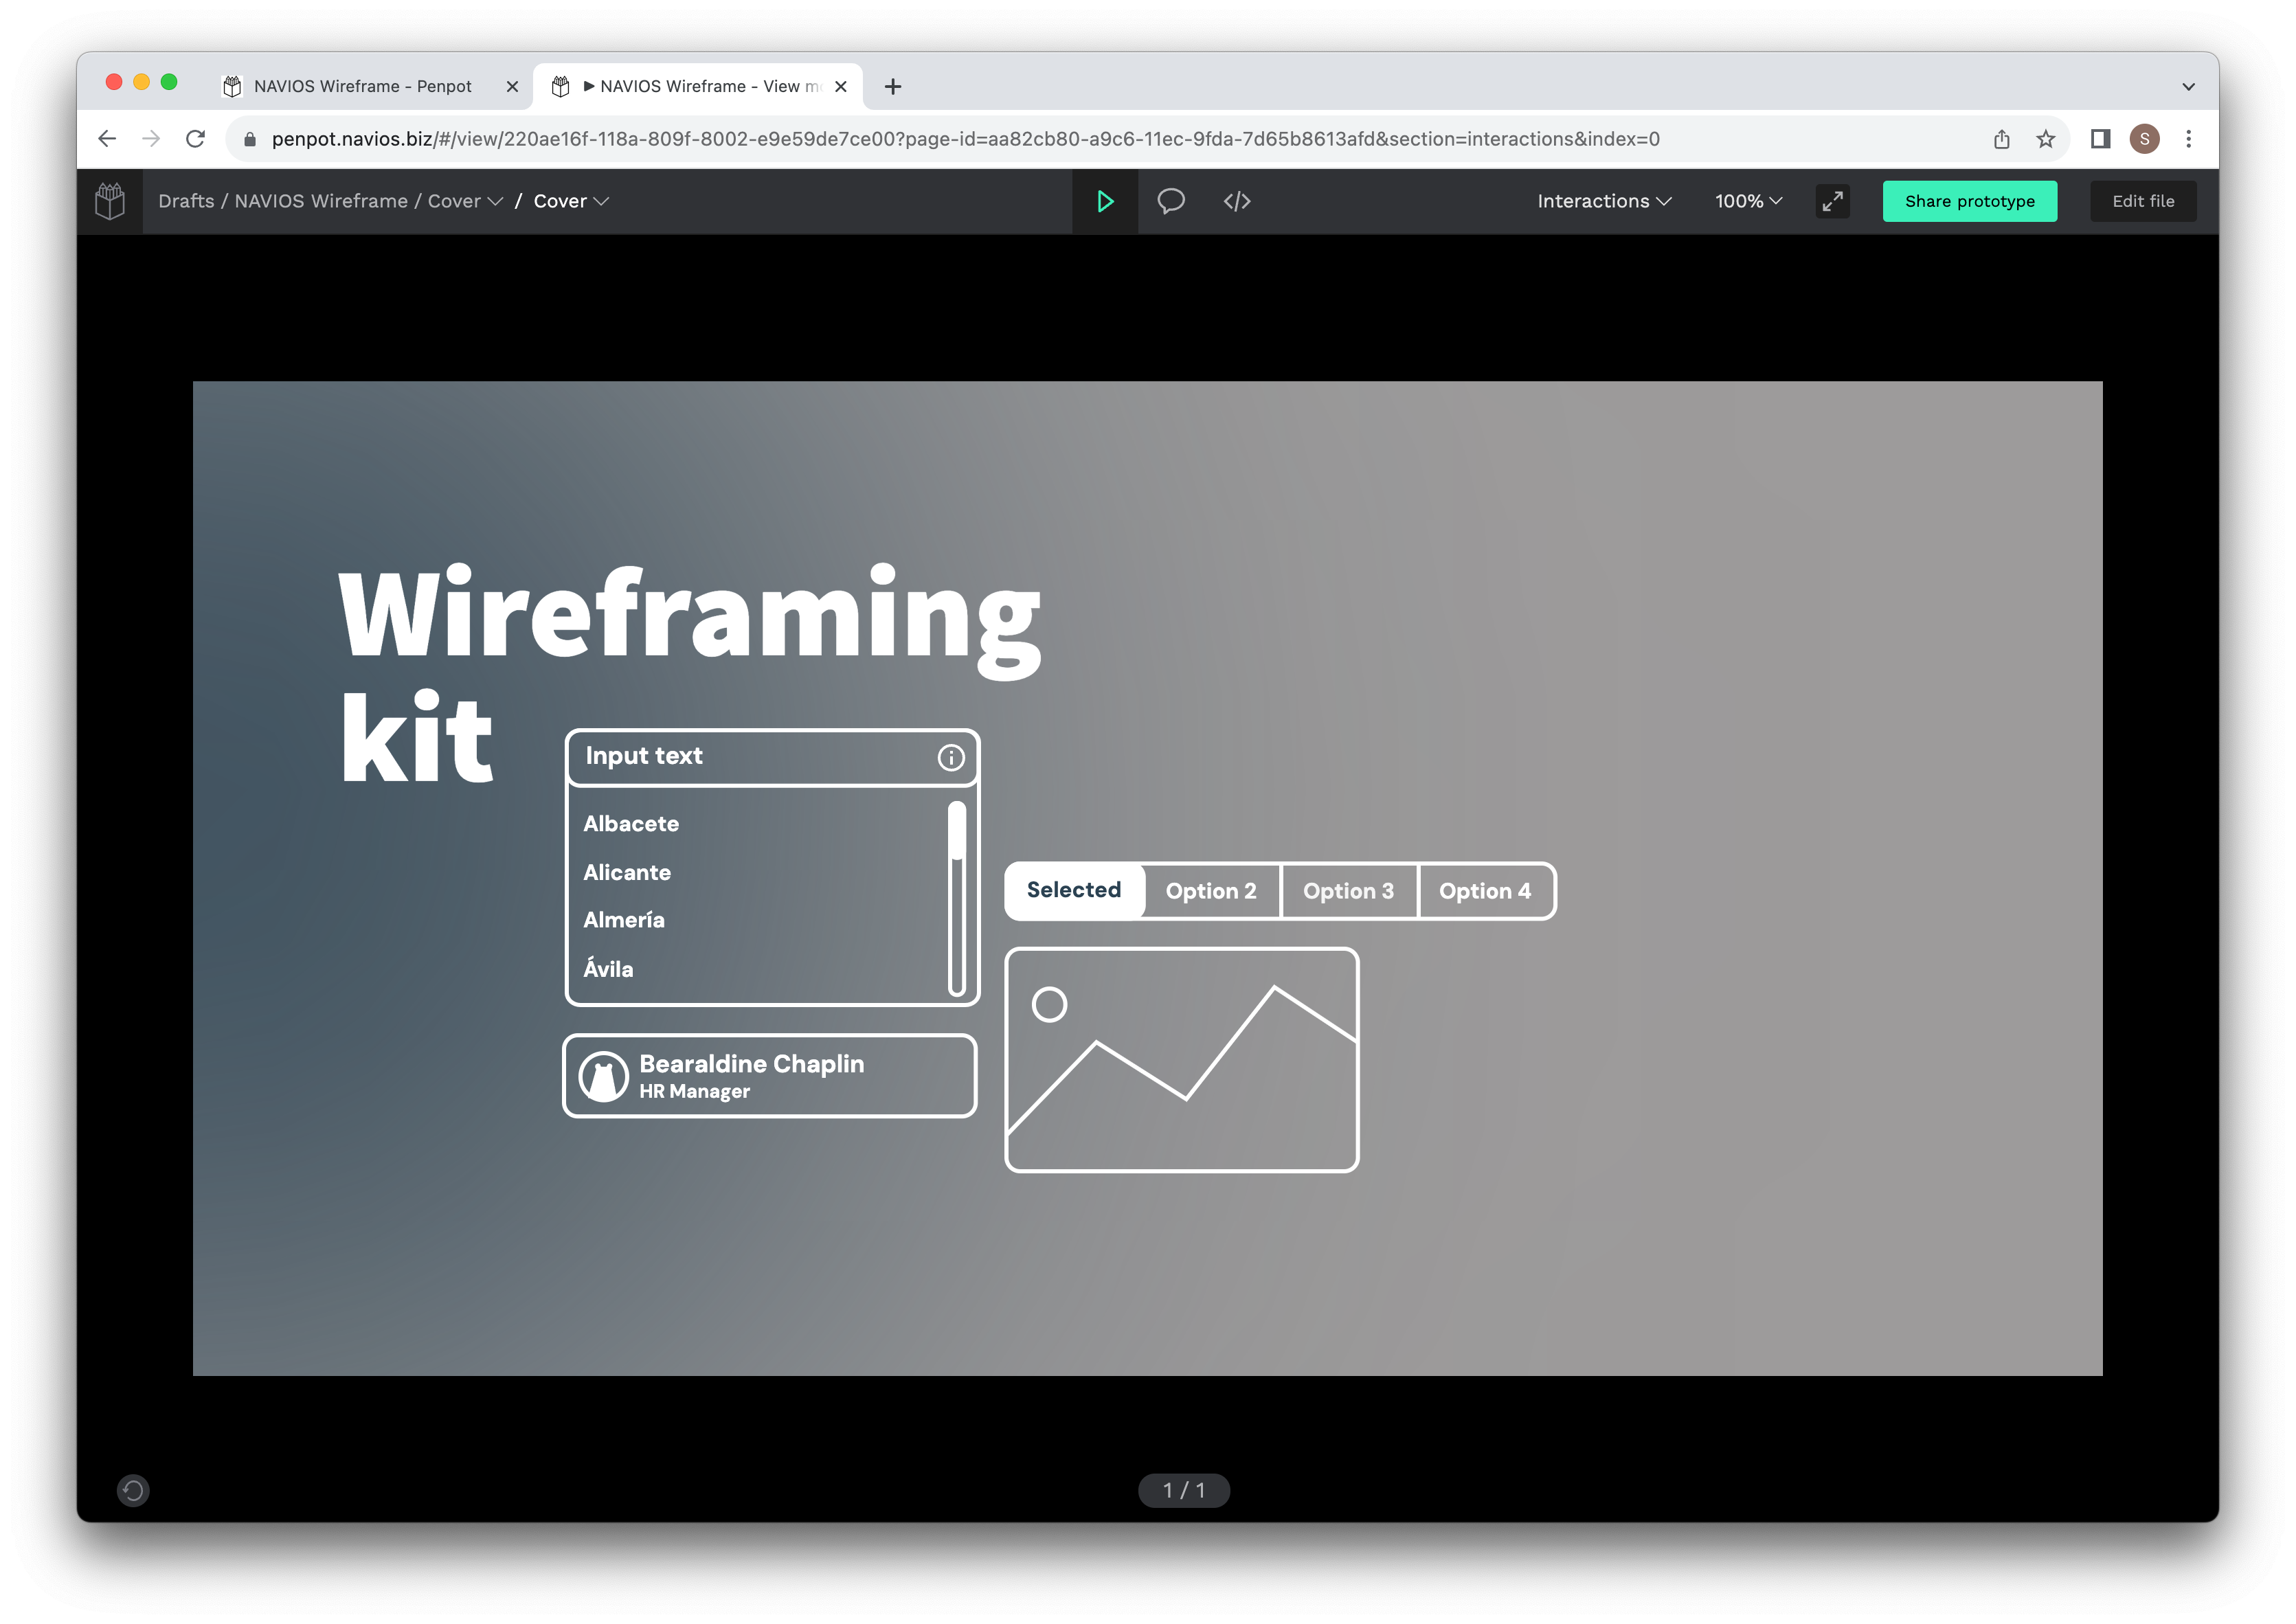
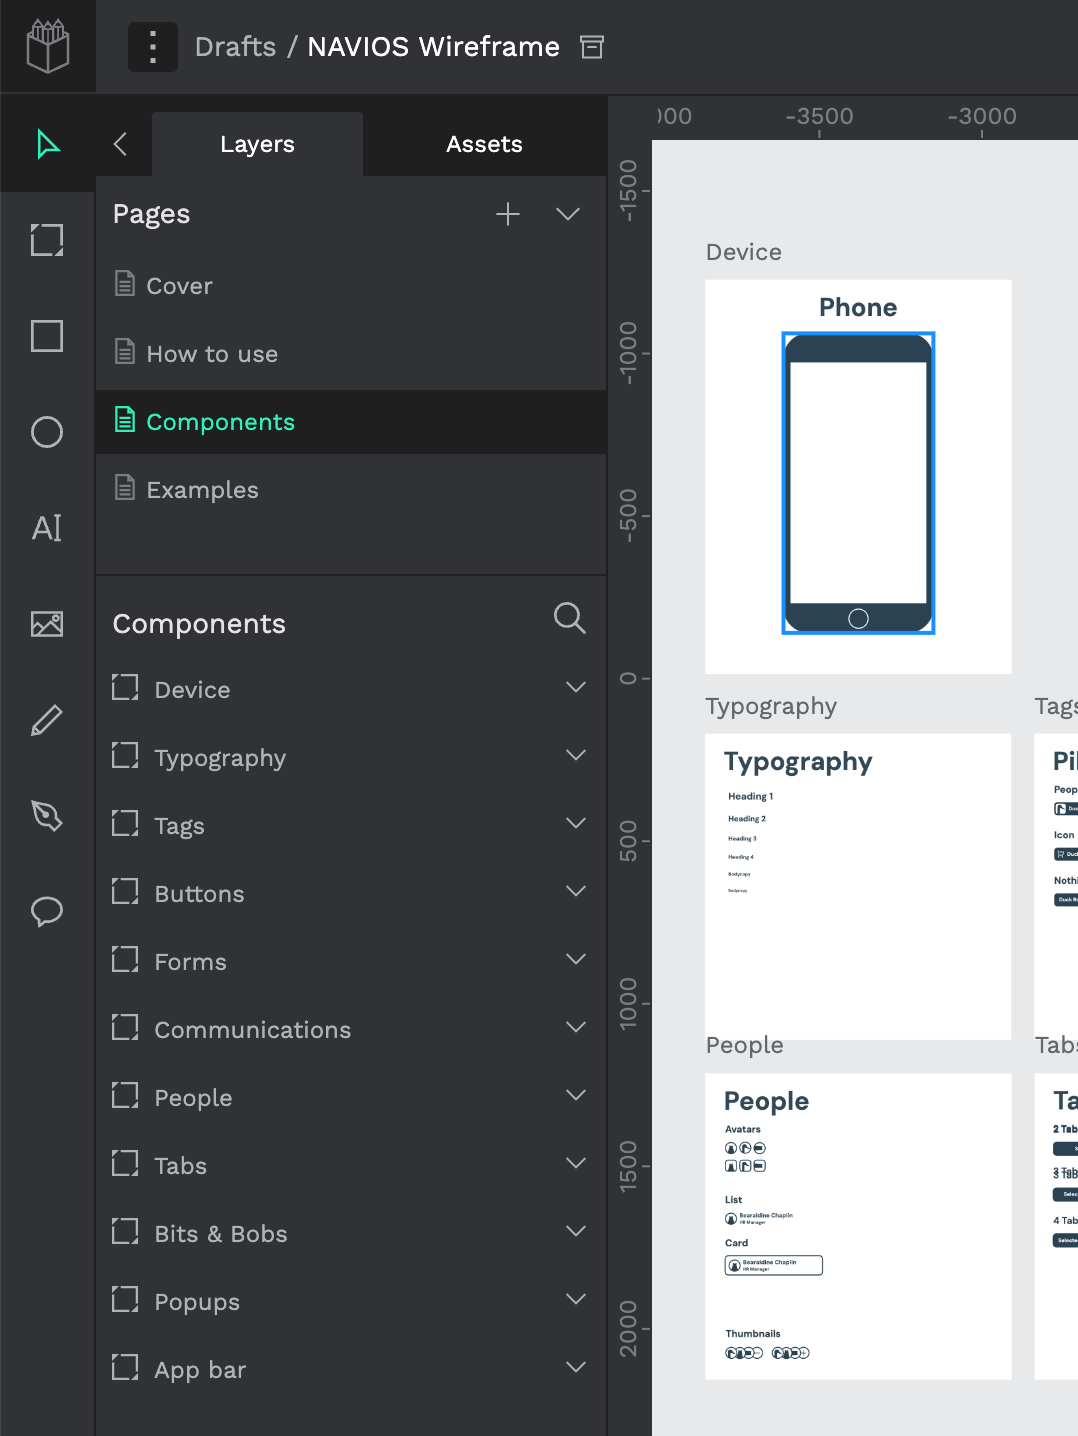
Try to display a Page (Components) with multiple Boards.
-
Select Layers ⇒ Pages ⇒ Components and click on the triangle in the upper right corner. Multiple Boards are created on this page as follows.
When displayed in View mode, an arrow appears in the center of the right side of the screen.
By clicking the arrows, you can go back and forth between the Boards and check the design in the Board.
Video file
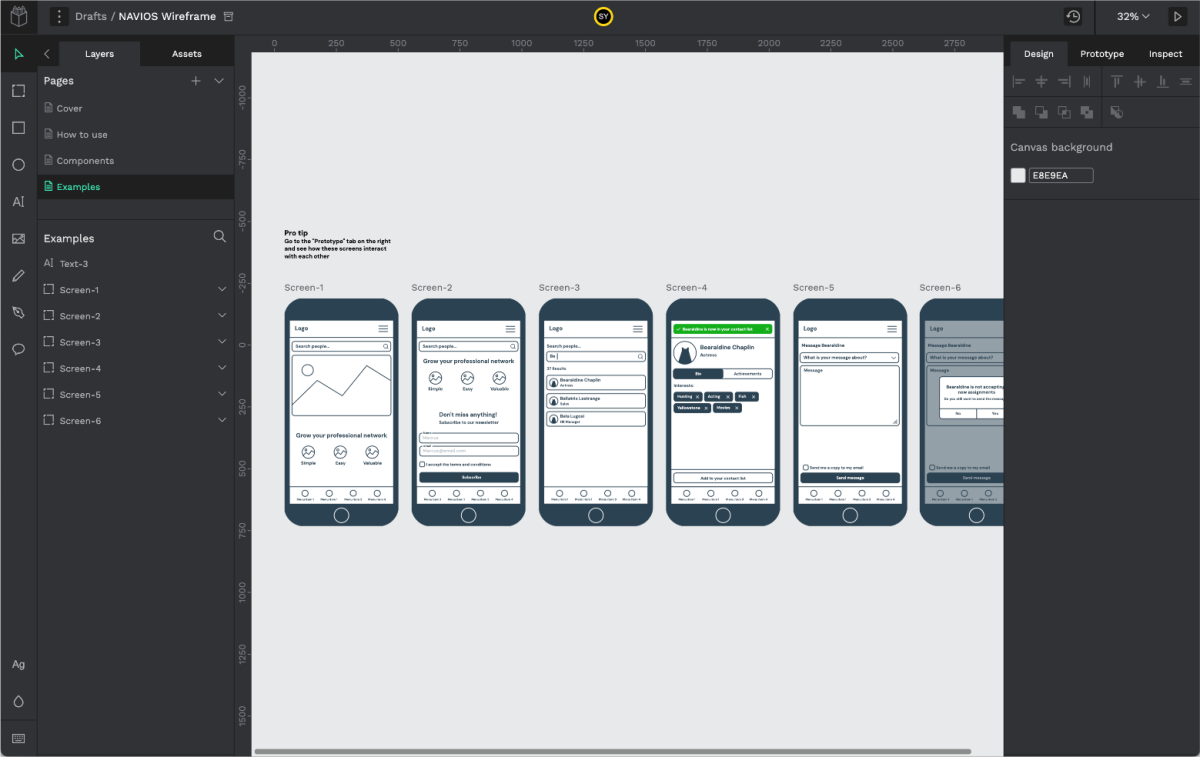
Display multiple Pages (Examples) with Flow and Prototype set on the Board.
-
Select Layers ⇒ Pages ⇒ Components and click on the triangle in the upper right corner.
Multiple Boards are created on this page as shown below. Also, if you view the Prototype tab in the right pane, you will see Flow is set.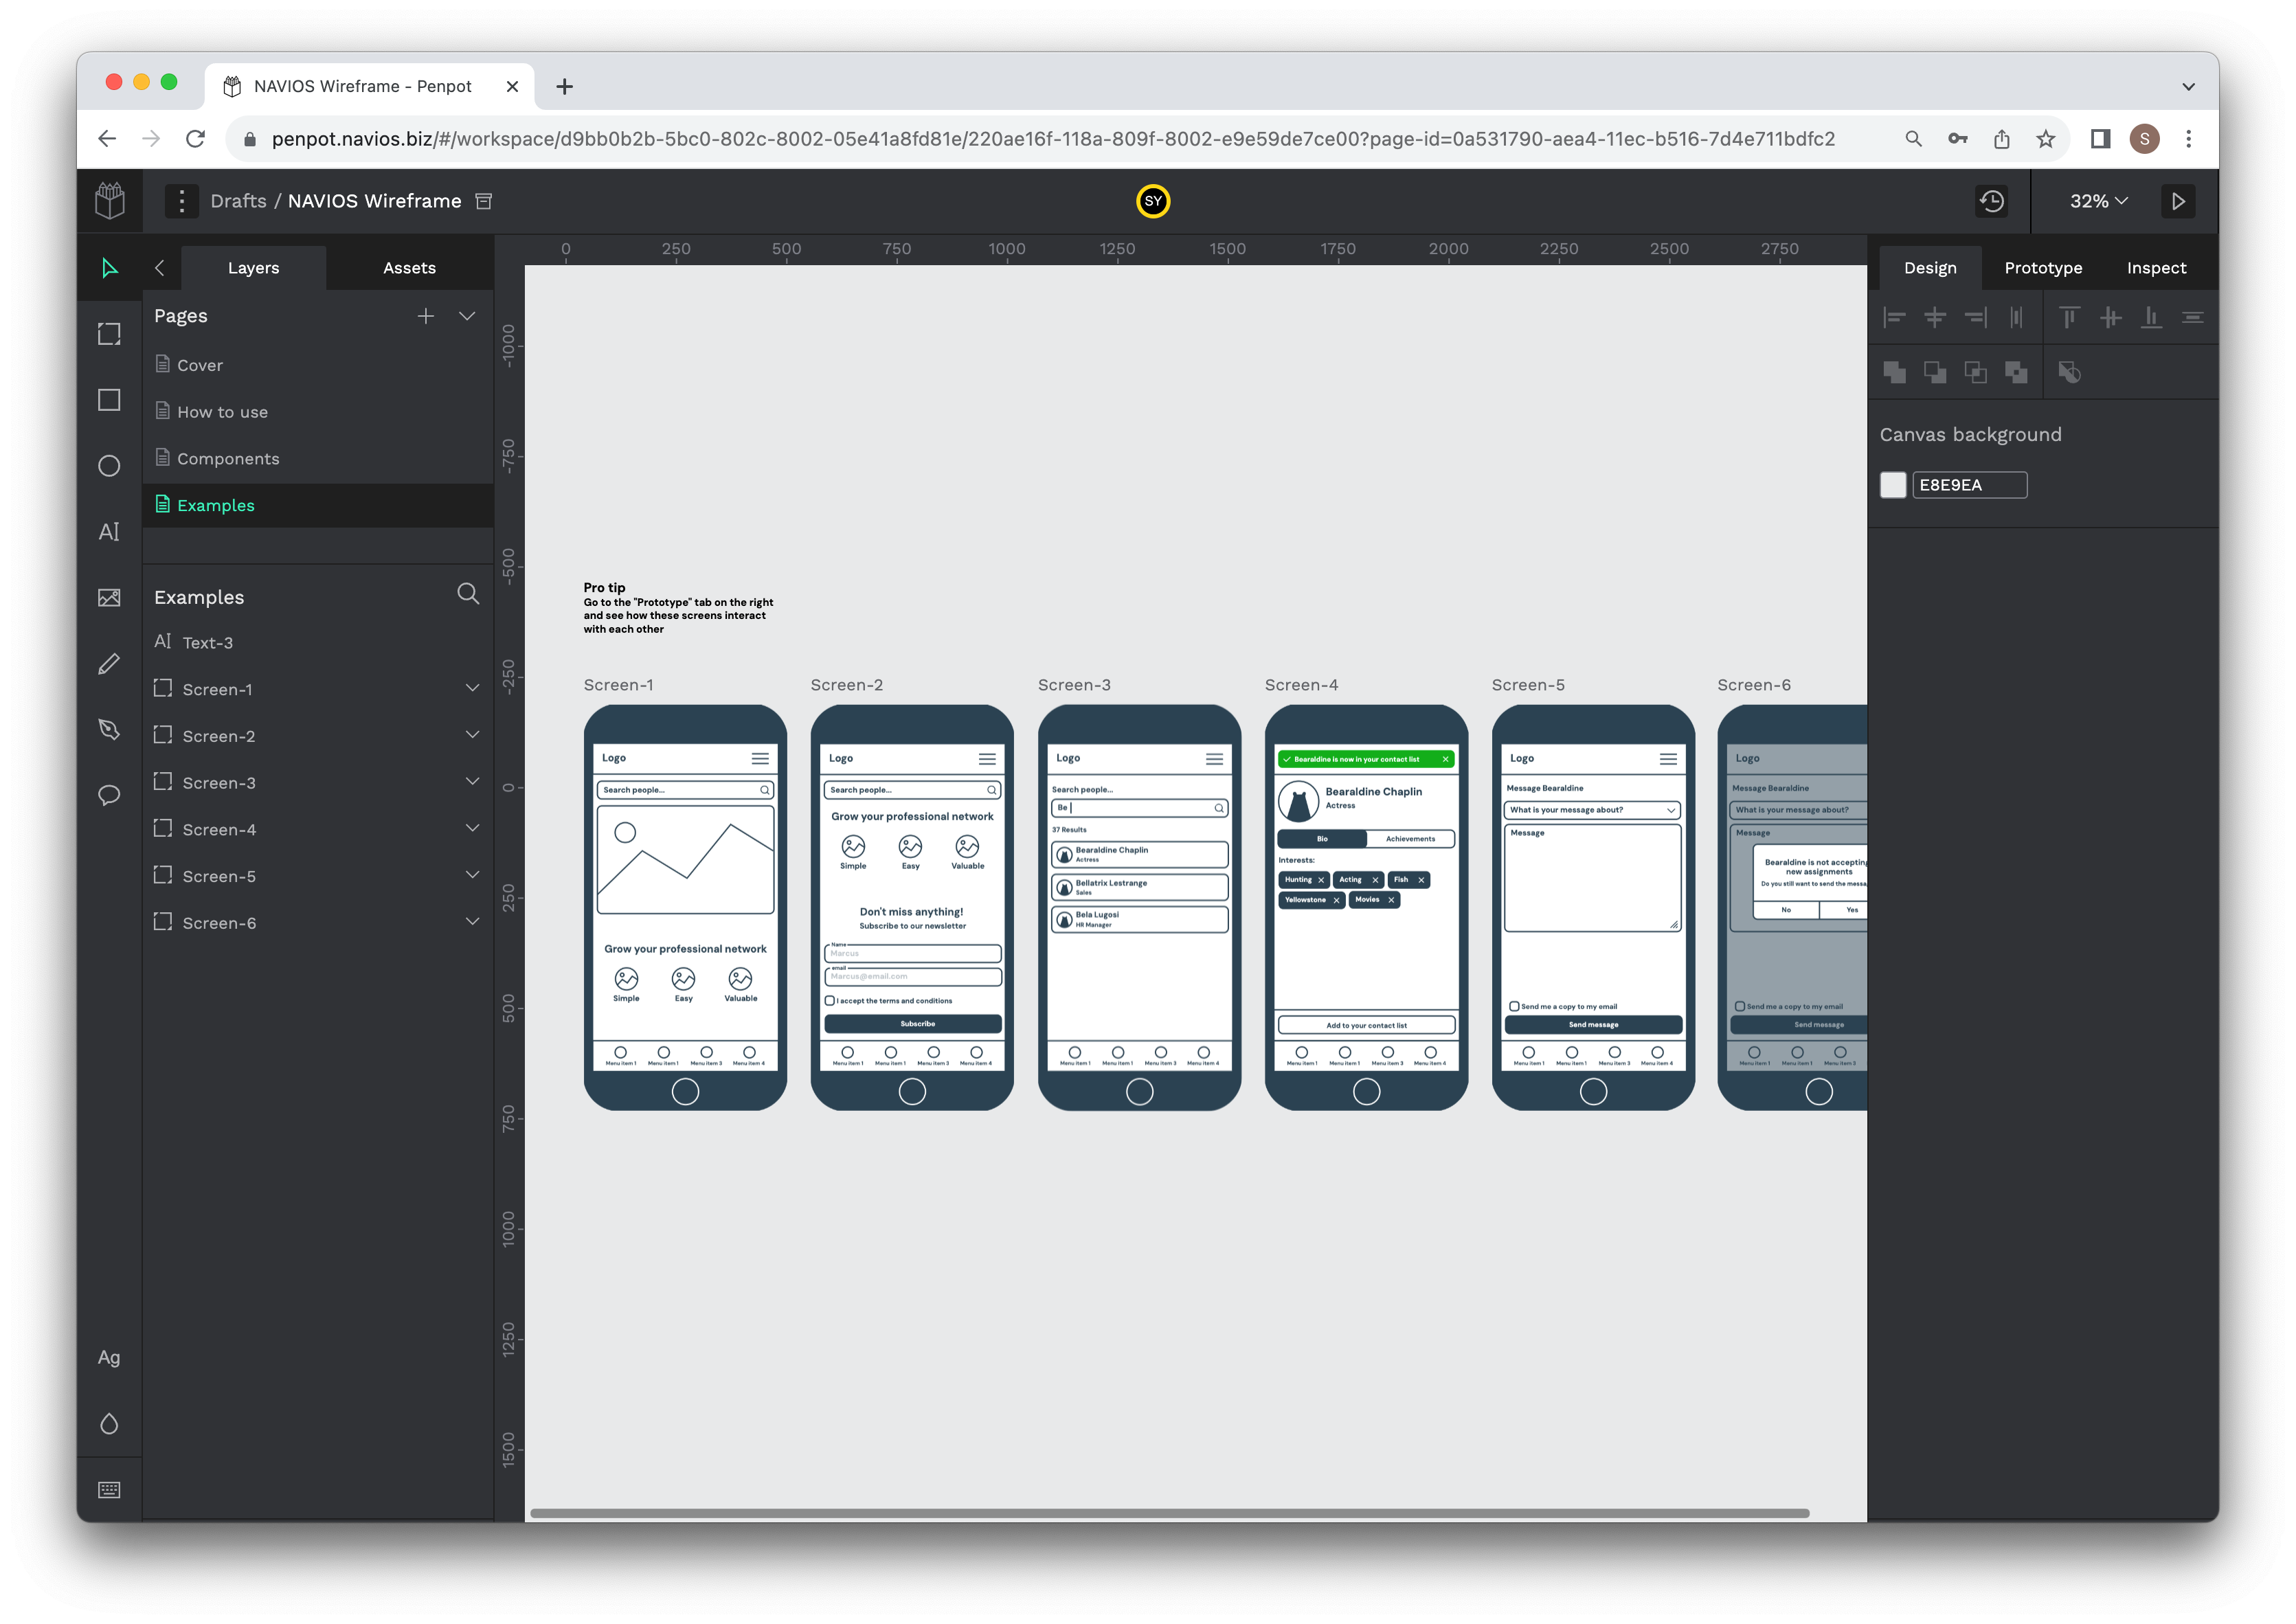
When displayed in View mode, an arrow appears in the center of the right side of the screen.
By clicking the arrows, you can go back and forth between the boards and check the design in the board.
In addition, since Flow and Prototype are set, you can check the screen transition when the mouse is clicked as a prototype by selecting "show interaction" from Interractions.Video file
7. Conclusion
With the basic operations described above, it is possible to check the screen prototype. Using the template, you can efficiently create a site image of a website by creating a new Page in Layers, preparing a Board, and copying and pasting assets.